> ## Documentation Index
> Fetch the complete documentation index at: https://mintlify-dean-clarifying-localization.mintlify.site/llms.txt
> Use this file to discover all available pages before exploring further.
# Web Editor
> Edit your docs directly from the dashboard with live previews.
Mintlify Web Editor is currently in beta. We are in the process of adding additional
features and fixing bugs. We'd love to get your feedback on what we can improve at [support@mintlify.com](mailto:support@mintlify.com).
Web Editor is the preferred way to edit docs directly without having to open your IDE or run `mintlify dev`.
The editor includes a few key features to integrate directly into your existing git workflow,
like creating branches, pull requests, commits, and diffs for your current changes.
It also includes a fully editable experience for changing and adding content directly,
even with custom components.
If you understand git workflows and our integrations already, you can skip to [here](#editing-content).
## Git and update workflows
### Git basics
While Web Editor means you don't need to go to GitHub or your command line to make
changes, it's still helpful to know the basics of git.
Git terminology:
* **Repository**: The folder in which your code lives. It can be local (on your computer) or remote (like GitHub).
* **Commit**: A snapshot of changes made to files in the repository.
* **Branch**: A separate line of development. It's a working copy of the code that allows you to work on changes without affecting the main version.
* **Pull request:** A request to merge changes from a working branch into the main branch. This is used for reviewing content before making changes live.
### Making updates
In order to make updates to your docs, we include a few buttons specifically to
integrate with your git workflow.
If you haven't done so already, please install the Mintlify GitHub app to your GitHub account.
You can find [documentation here](#1-deploying-your-docs-repository), or you can install
the app in the [GitHub App page](https://dashboard.mintlify.com/settings/organization/github-app)
page of the dashboard.
In order to make changes to your docs, you might want to change from the main branch
to avoid publishing directly to your main docs site.
To do this, you can open the branches modal on the top left of the editor.
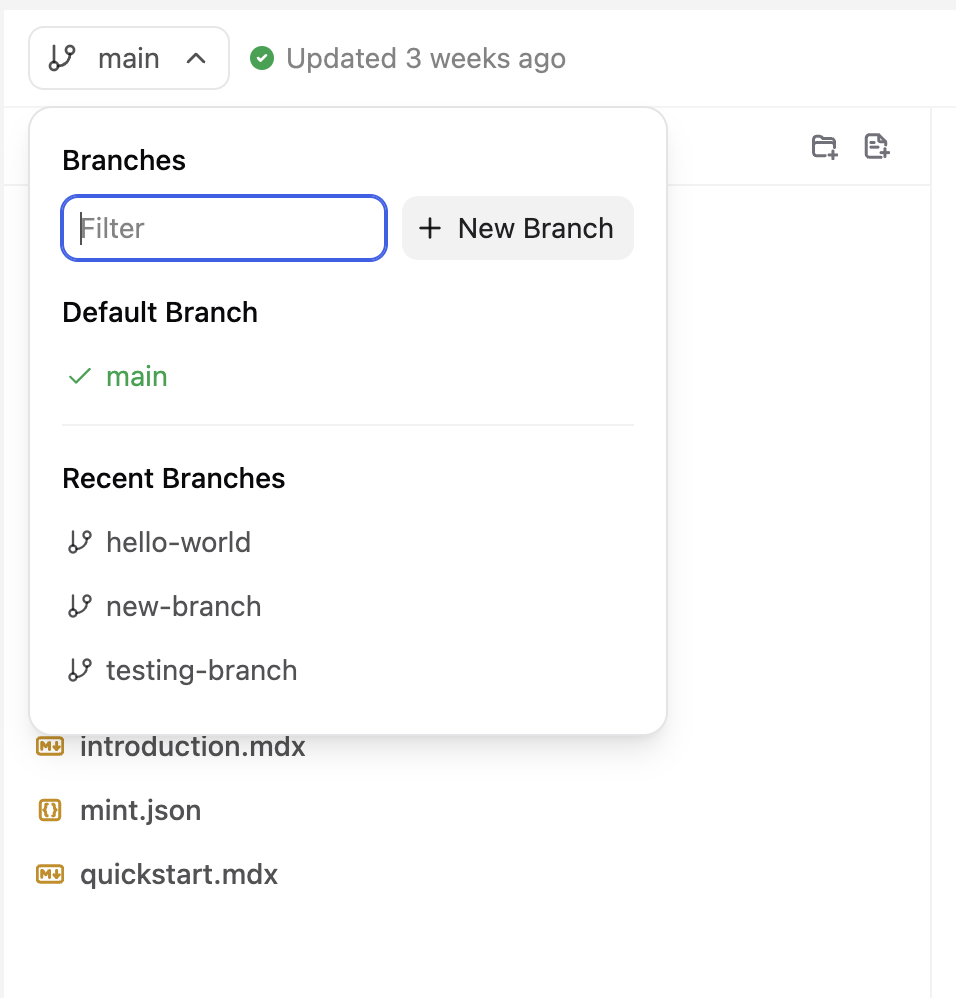
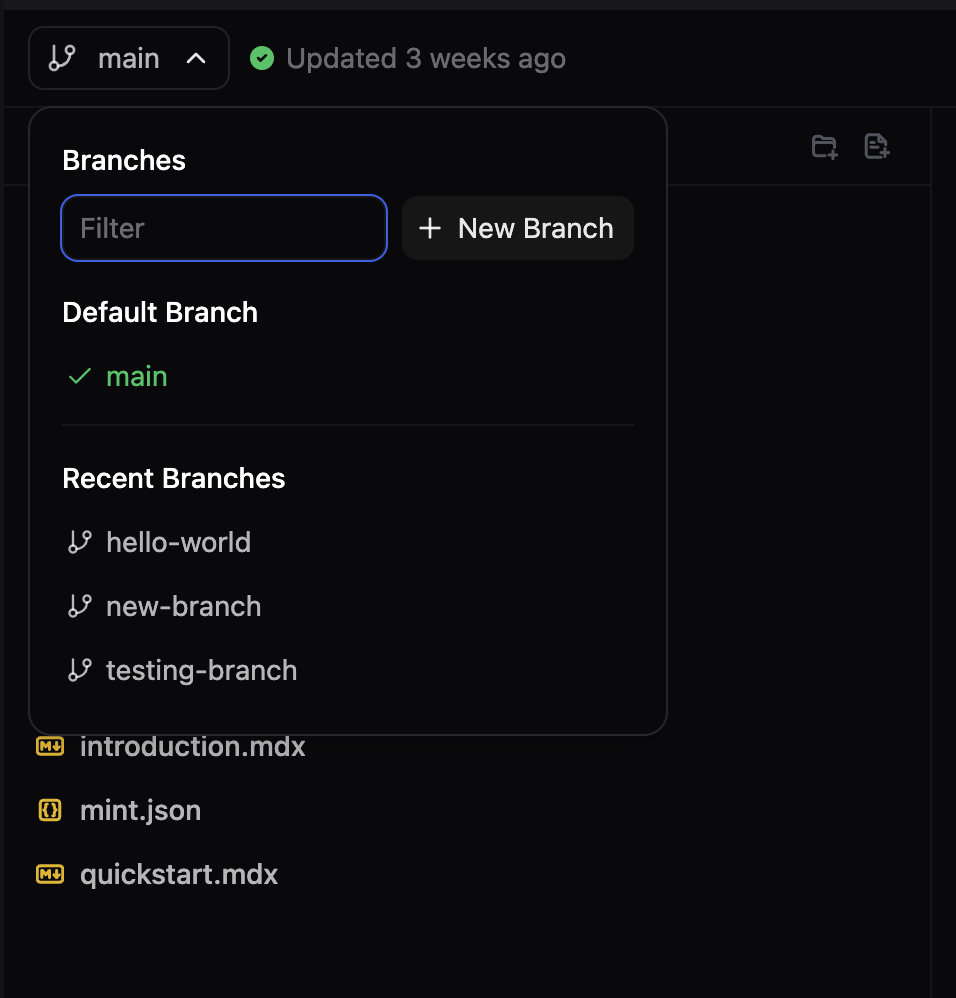 From here, you can either switch to a different git branch than `main`, or you can
create a new branch by clicking the **"New Branch"** button.
From here, you can either switch to a different git branch than `main`, or you can
create a new branch by clicking the **"New Branch"** button.
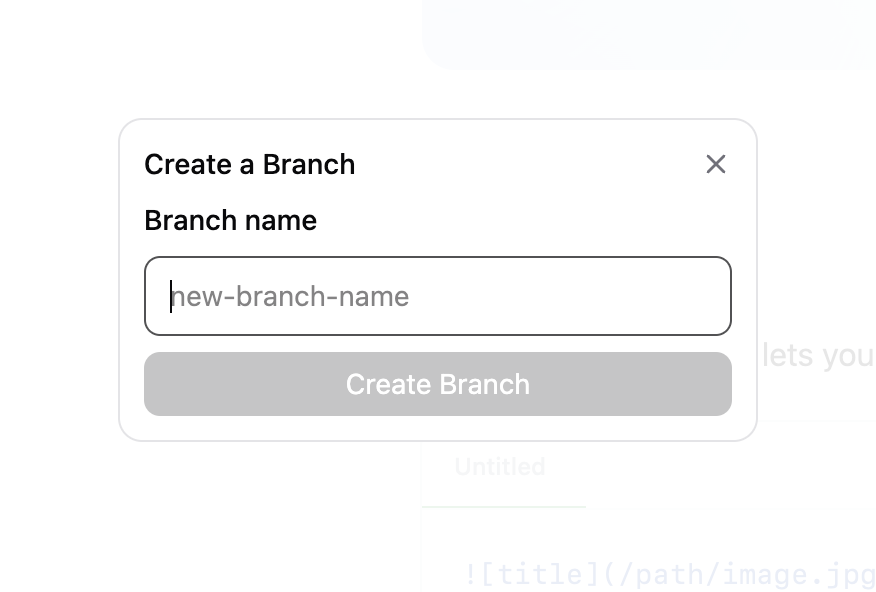
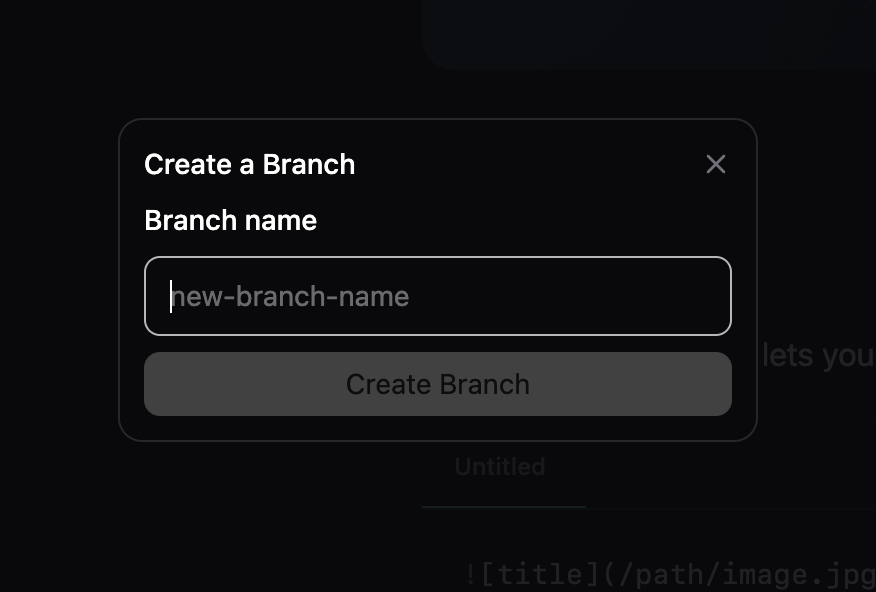 After you create a new branch, you'll automatically be switched, and all changes
you make will be made to this new branch until you change branches again or reload the page.
By default, when you load the page again, you'll default to the main branch.
As a best practice, you should always create a new branch to make changes so you can submit a pull request for review by other teammates. You also may not have permissions to make changes to the main branch, in which case we'll try to open a pull request for you.
In order to make a commit, you have two options, both of which appear on the top
right of the editor:
If you're on the main branch of your docs repository, you can push a commit
directly to the repo by clicking the **"Publish"** button. You'll see your changes
reflect in your git branch the next time you run `git pull`.
After you create a new branch, you'll automatically be switched, and all changes
you make will be made to this new branch until you change branches again or reload the page.
By default, when you load the page again, you'll default to the main branch.
As a best practice, you should always create a new branch to make changes so you can submit a pull request for review by other teammates. You also may not have permissions to make changes to the main branch, in which case we'll try to open a pull request for you.
In order to make a commit, you have two options, both of which appear on the top
right of the editor:
If you're on the main branch of your docs repository, you can push a commit
directly to the repo by clicking the **"Publish"** button. You'll see your changes
reflect in your git branch the next time you run `git pull`.

 If you're not on the main branch, you can push a commit to your branch by clicking
on the **"Save Changes"** button. If you're ready to publish a pull request to put your branch
up for review, you can click the **"Publish Pull Request"** button.
If you're not on the main branch, you can push a commit to your branch by clicking
on the **"Save Changes"** button. If you're ready to publish a pull request to put your branch
up for review, you can click the **"Publish Pull Request"** button.

 This will create the pull request for you on GitHub using the branch you selected onto
your main branch.
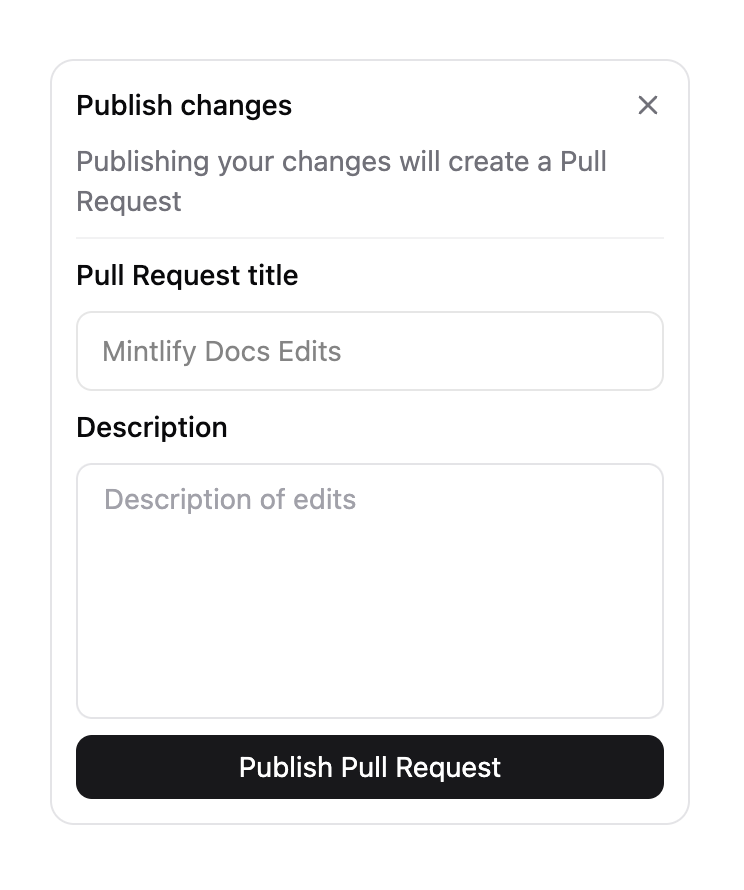
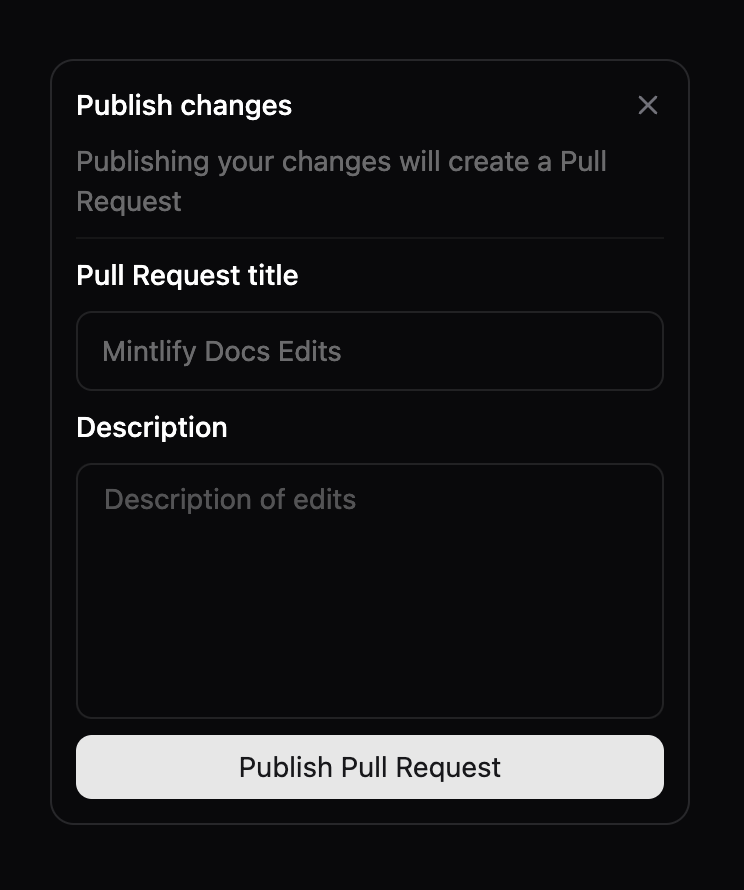
If you do put your pull request up for review, you can edit the title and description
of the PR, but a default Mintlify title will be provided for you if you leave it
empty.
This will create the pull request for you on GitHub using the branch you selected onto
your main branch.
If you do put your pull request up for review, you can edit the title and description
of the PR, but a default Mintlify title will be provided for you if you leave it
empty.
 ## Editing content
### Slash commands
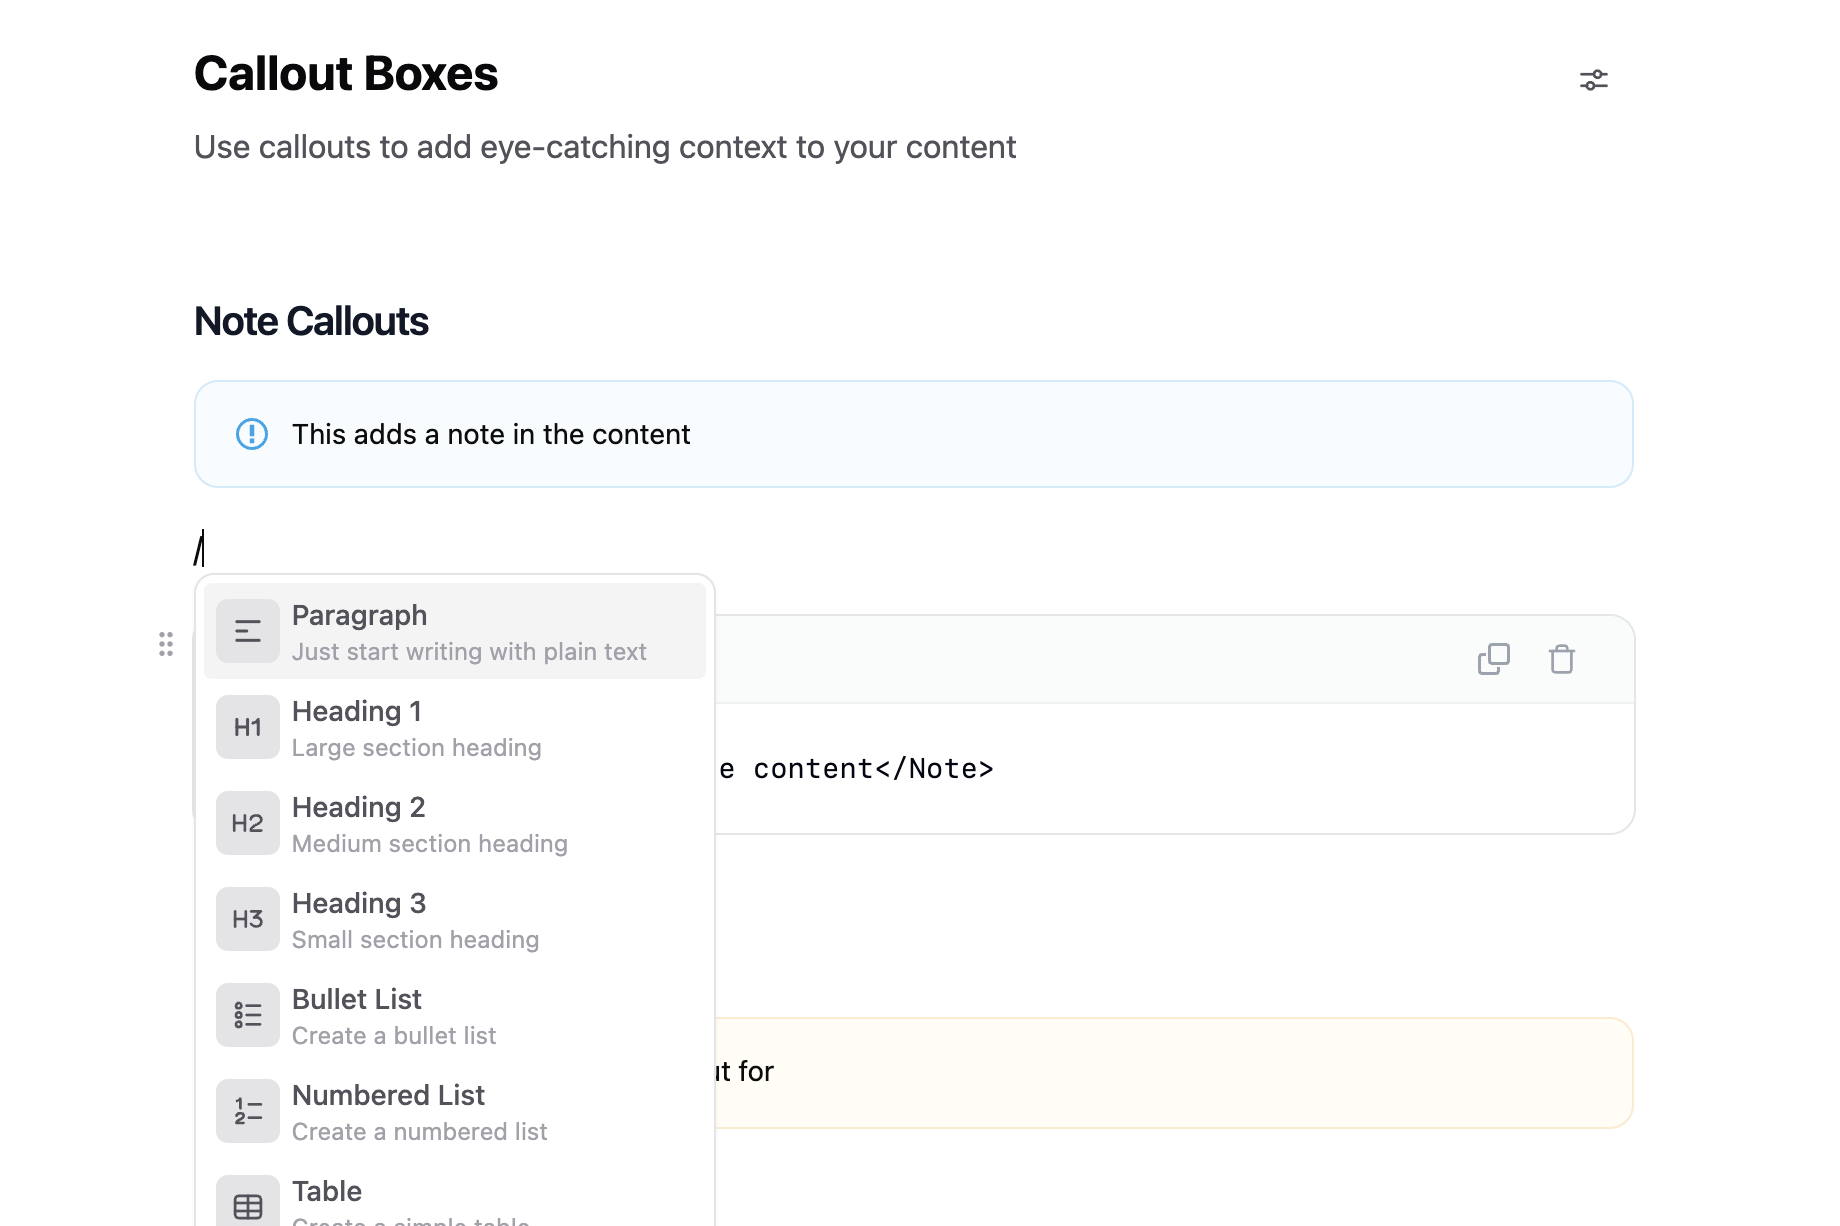
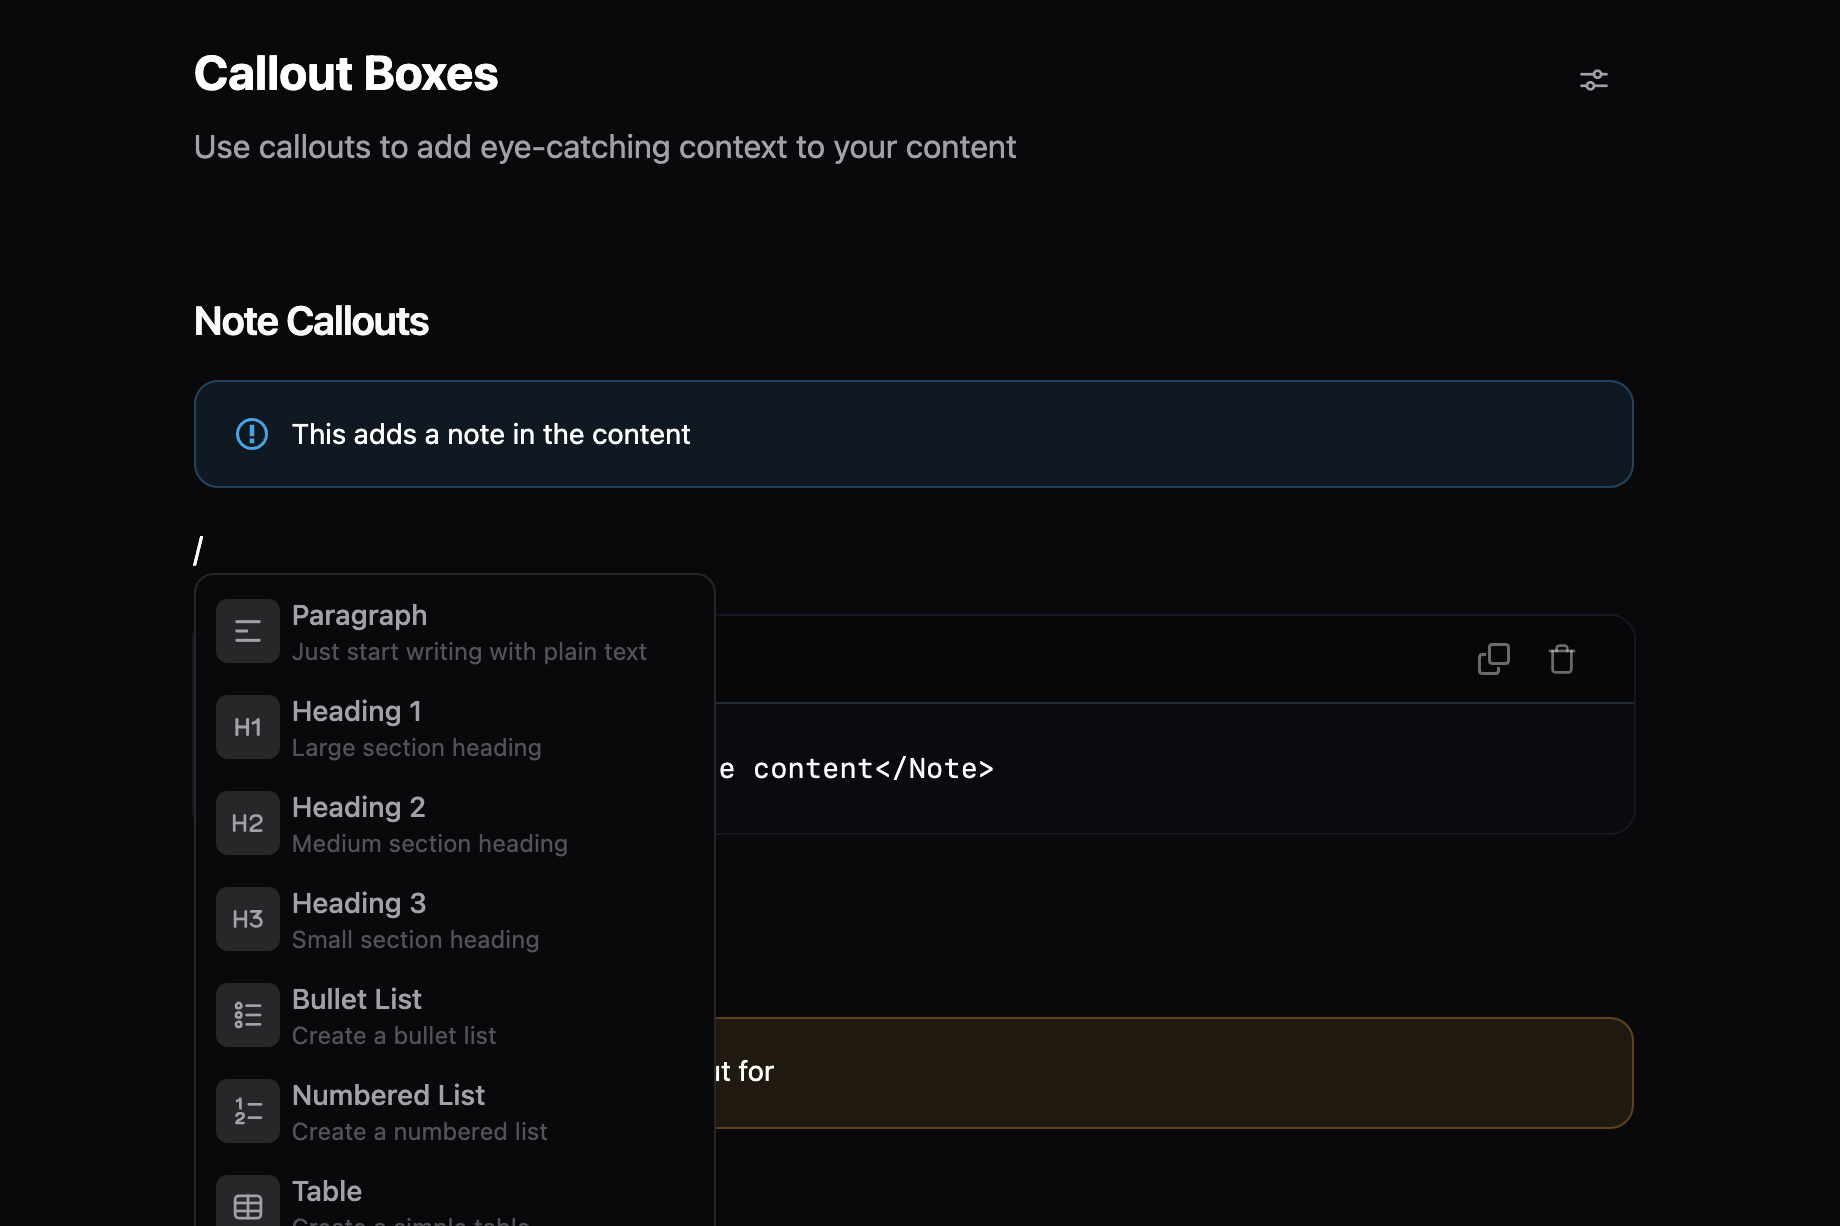
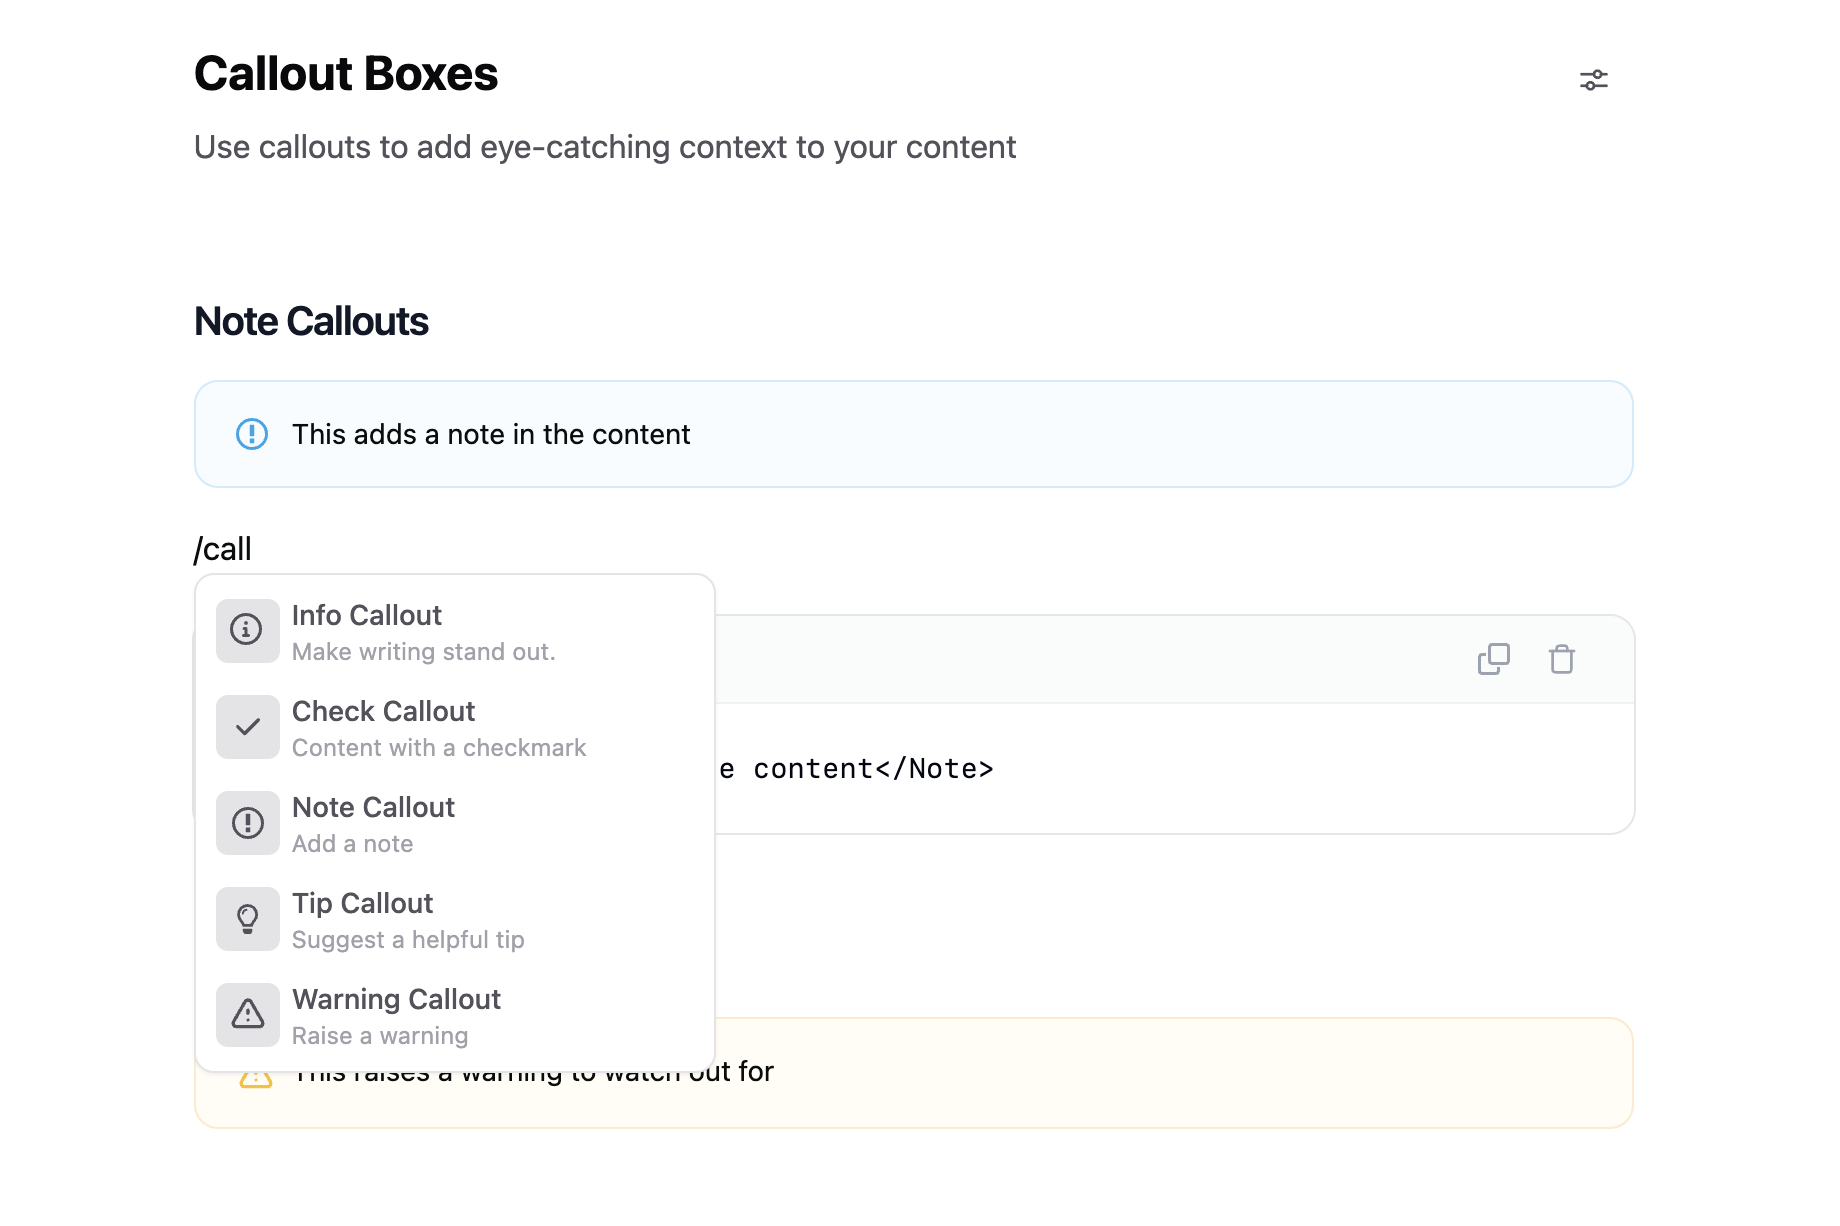
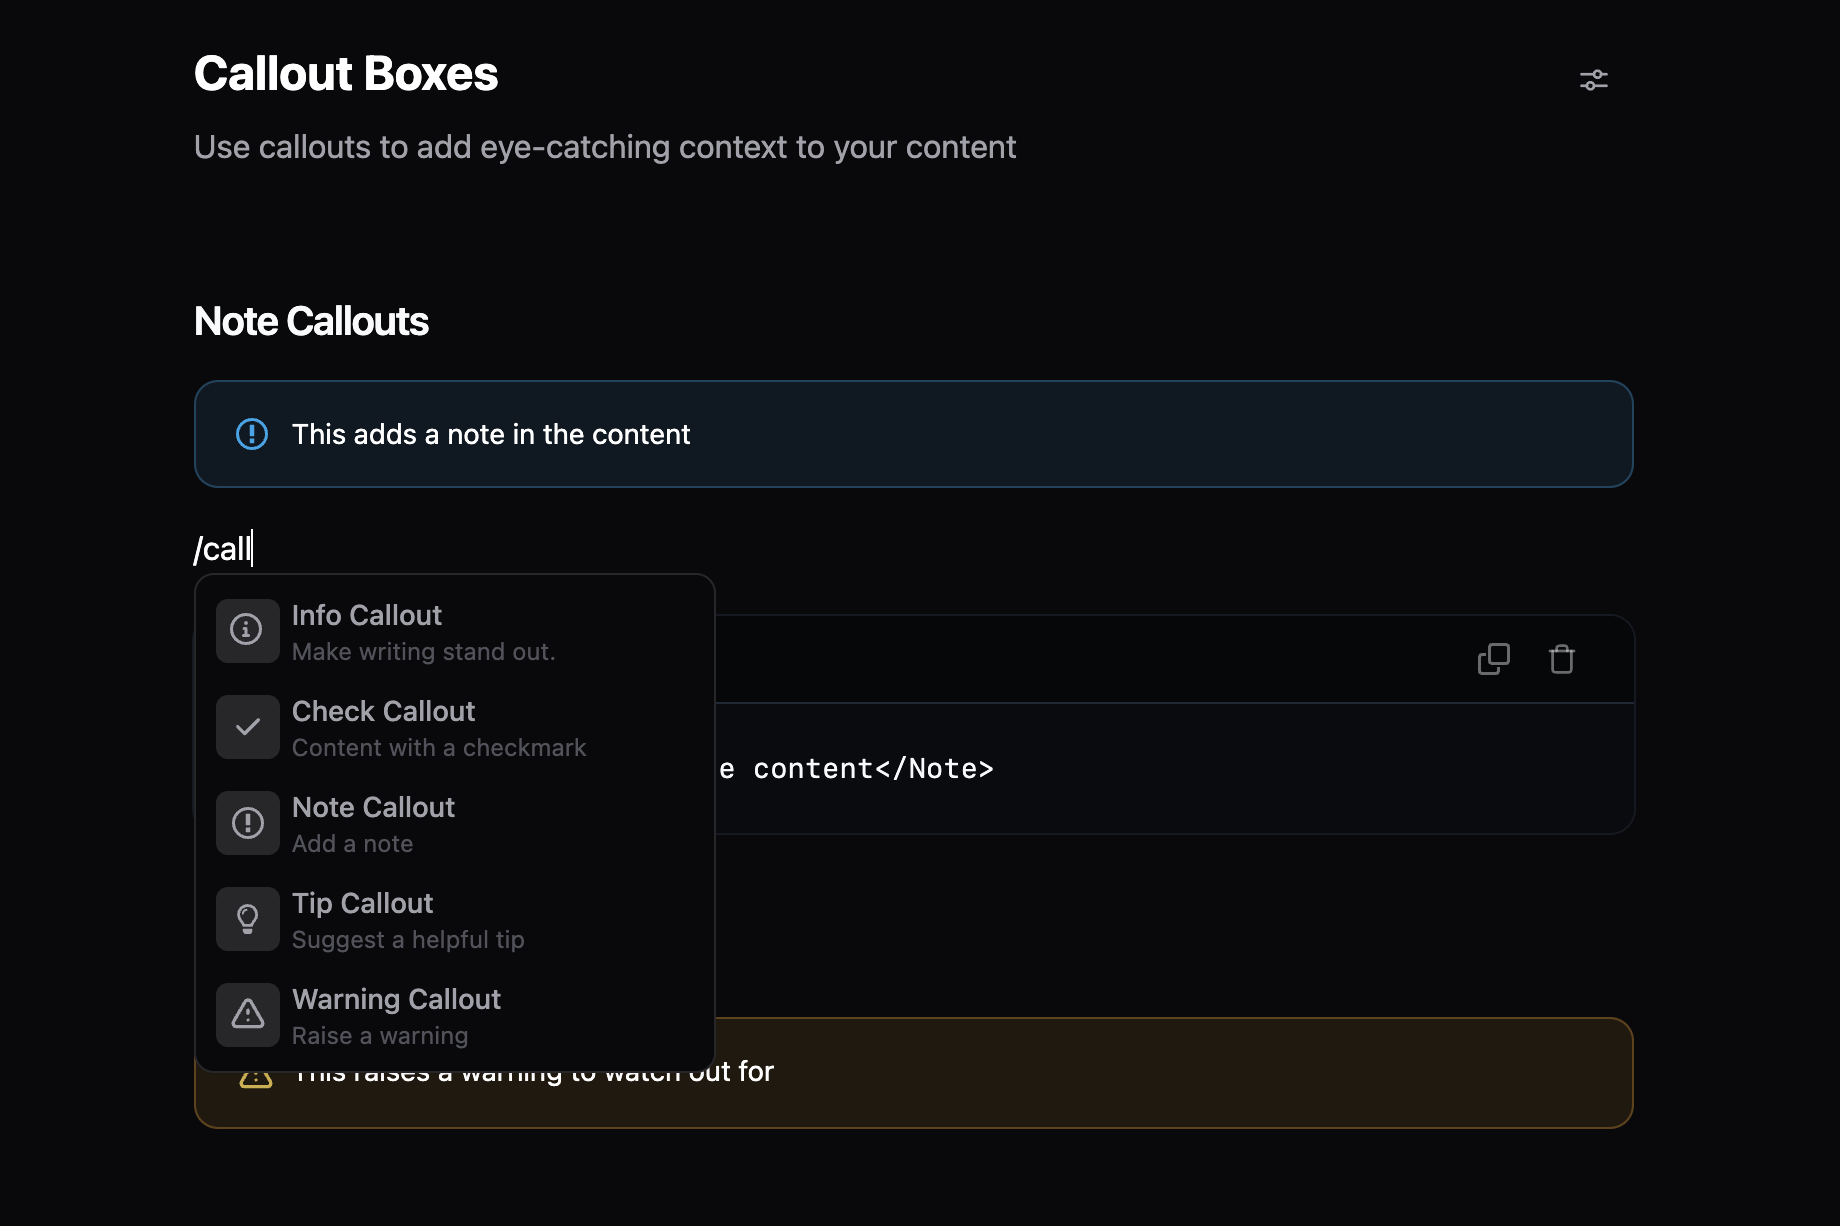
The easiest way to add content in the editor is by using **"Slash commands"**, which are
commands you have access to after typing `/` in the **"Visual Editor"** mode:
## Editing content
### Slash commands
The easiest way to add content in the editor is by using **"Slash commands"**, which are
commands you have access to after typing `/` in the **"Visual Editor"** mode:
 As you type, you'll see more options pop up:
 #### Content blocks
Here are the types of content blocks available to add in the **"Visual Editor"**:
Paragraph
Headings
Bullet List
Numbered List
Table
Image
Blockquote
Callouts
Accordions
Accordion Group
Cards
Card Group
Code Block
Code Group
Tabs
Steps
Frames
Update
### Adding images
You can add images to your page by typing `/image` and either clicking on the **"Image"**
option or hitting ↓ + Enter on the **"Image"** option.
This will open up the image modal where you have the option to either upload a new
image or use an existing image from the repo.
#### Content blocks
Here are the types of content blocks available to add in the **"Visual Editor"**:
Paragraph
Headings
Bullet List
Numbered List
Table
Image
Blockquote
Callouts
Accordions
Accordion Group
Cards
Card Group
Code Block
Code Group
Tabs
Steps
Frames
Update
### Adding images
You can add images to your page by typing `/image` and either clicking on the **"Image"**
option or hitting ↓ + Enter on the **"Image"** option.
This will open up the image modal where you have the option to either upload a new
image or use an existing image from the repo.
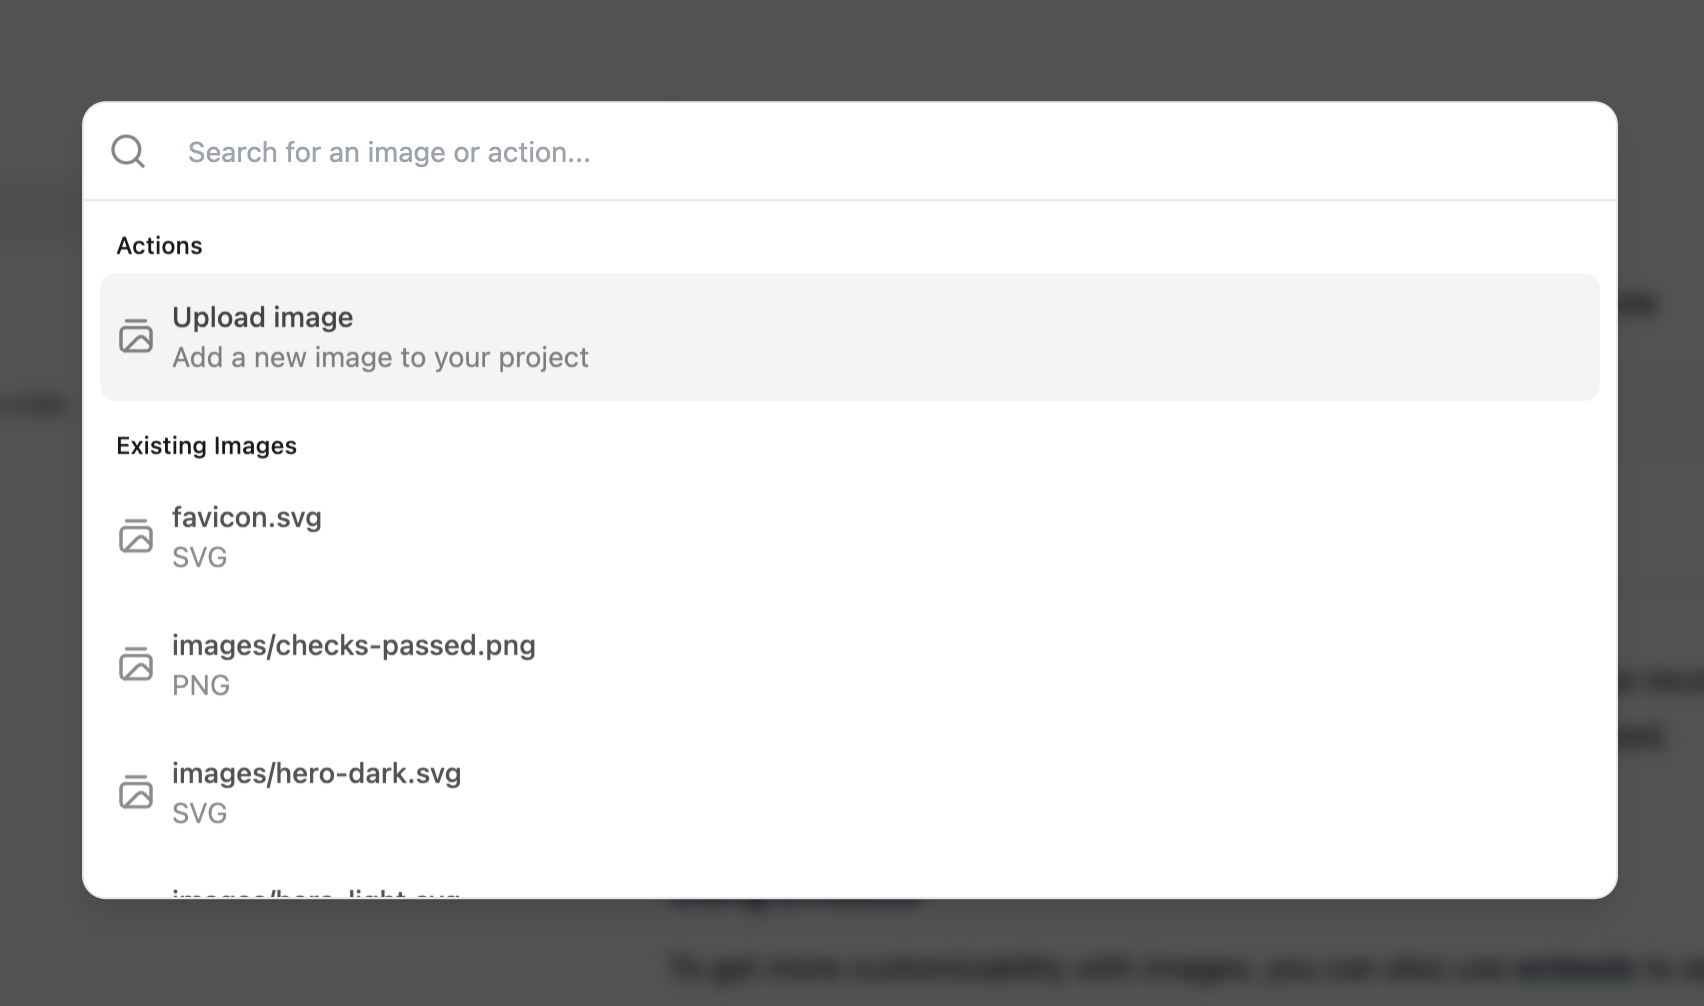
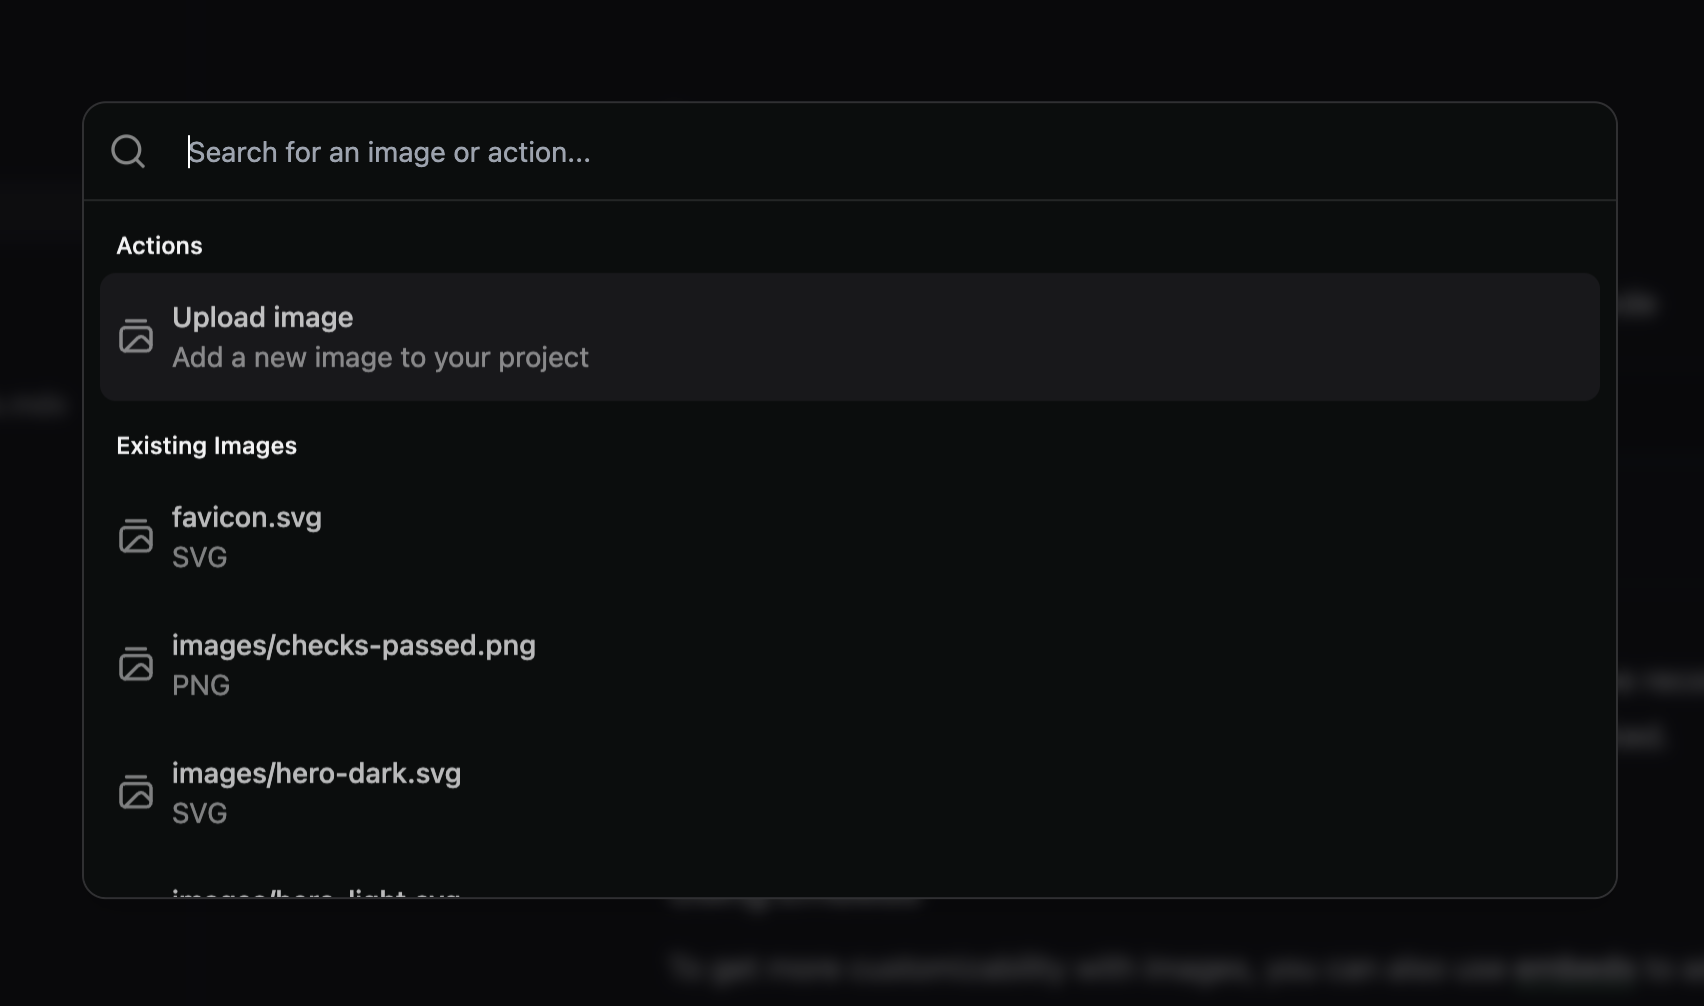 Uploading an image can be done through the modal:
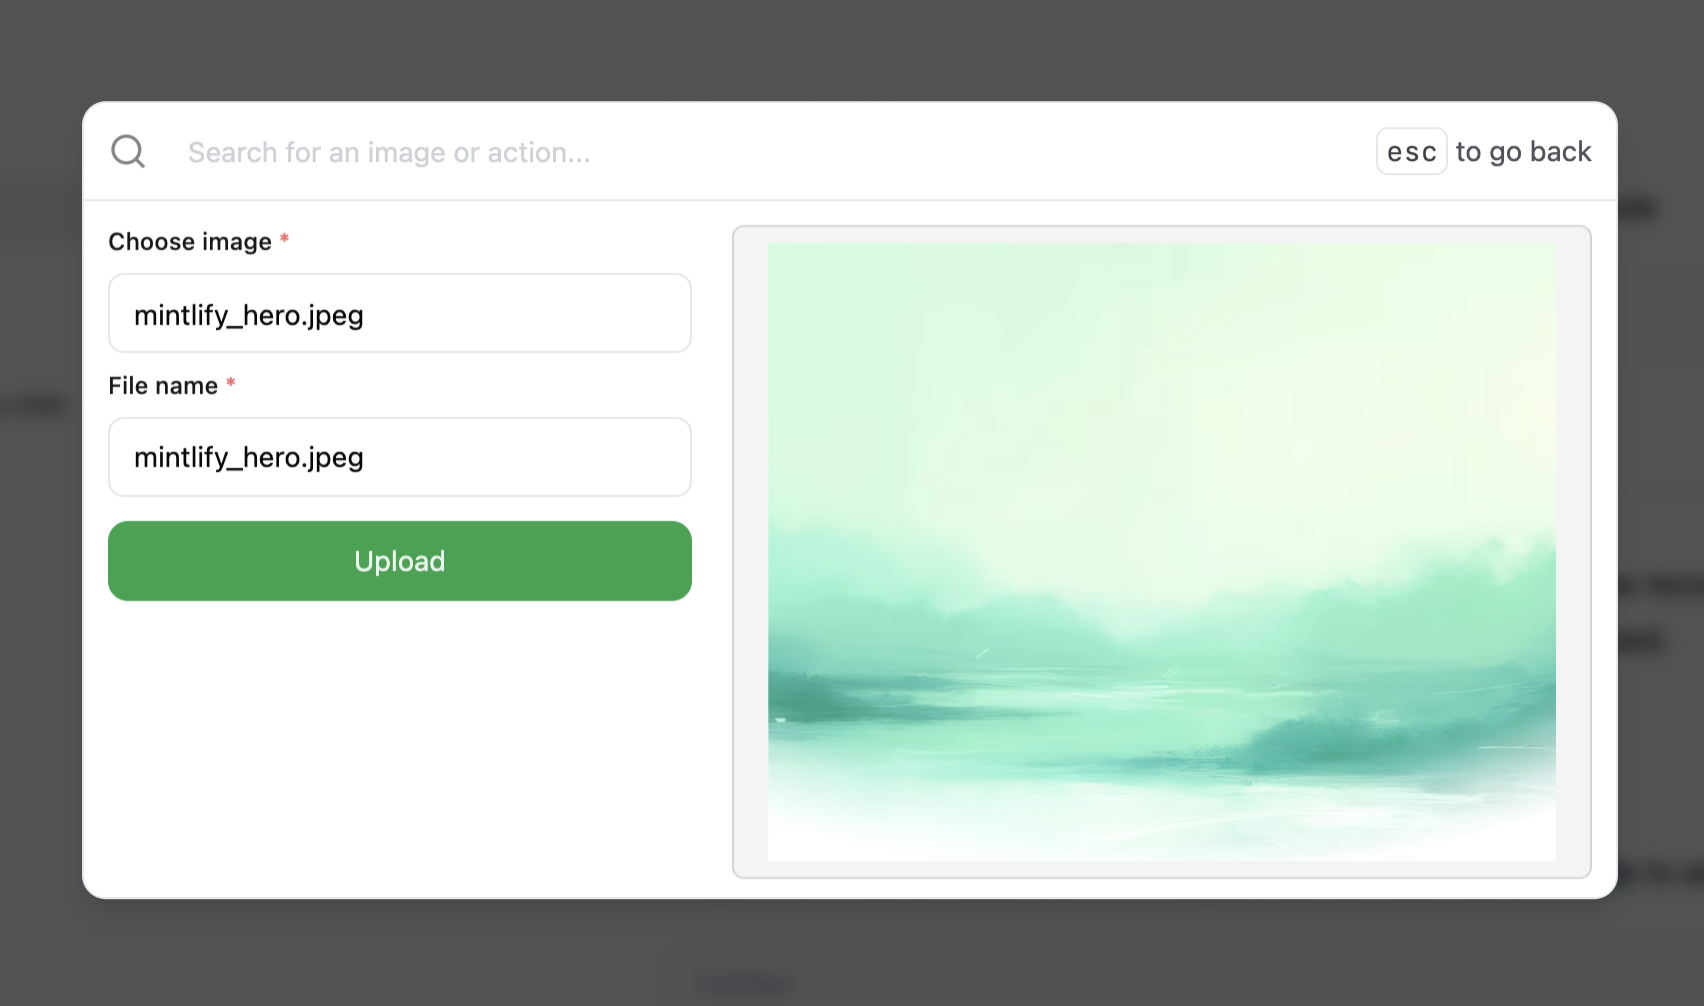
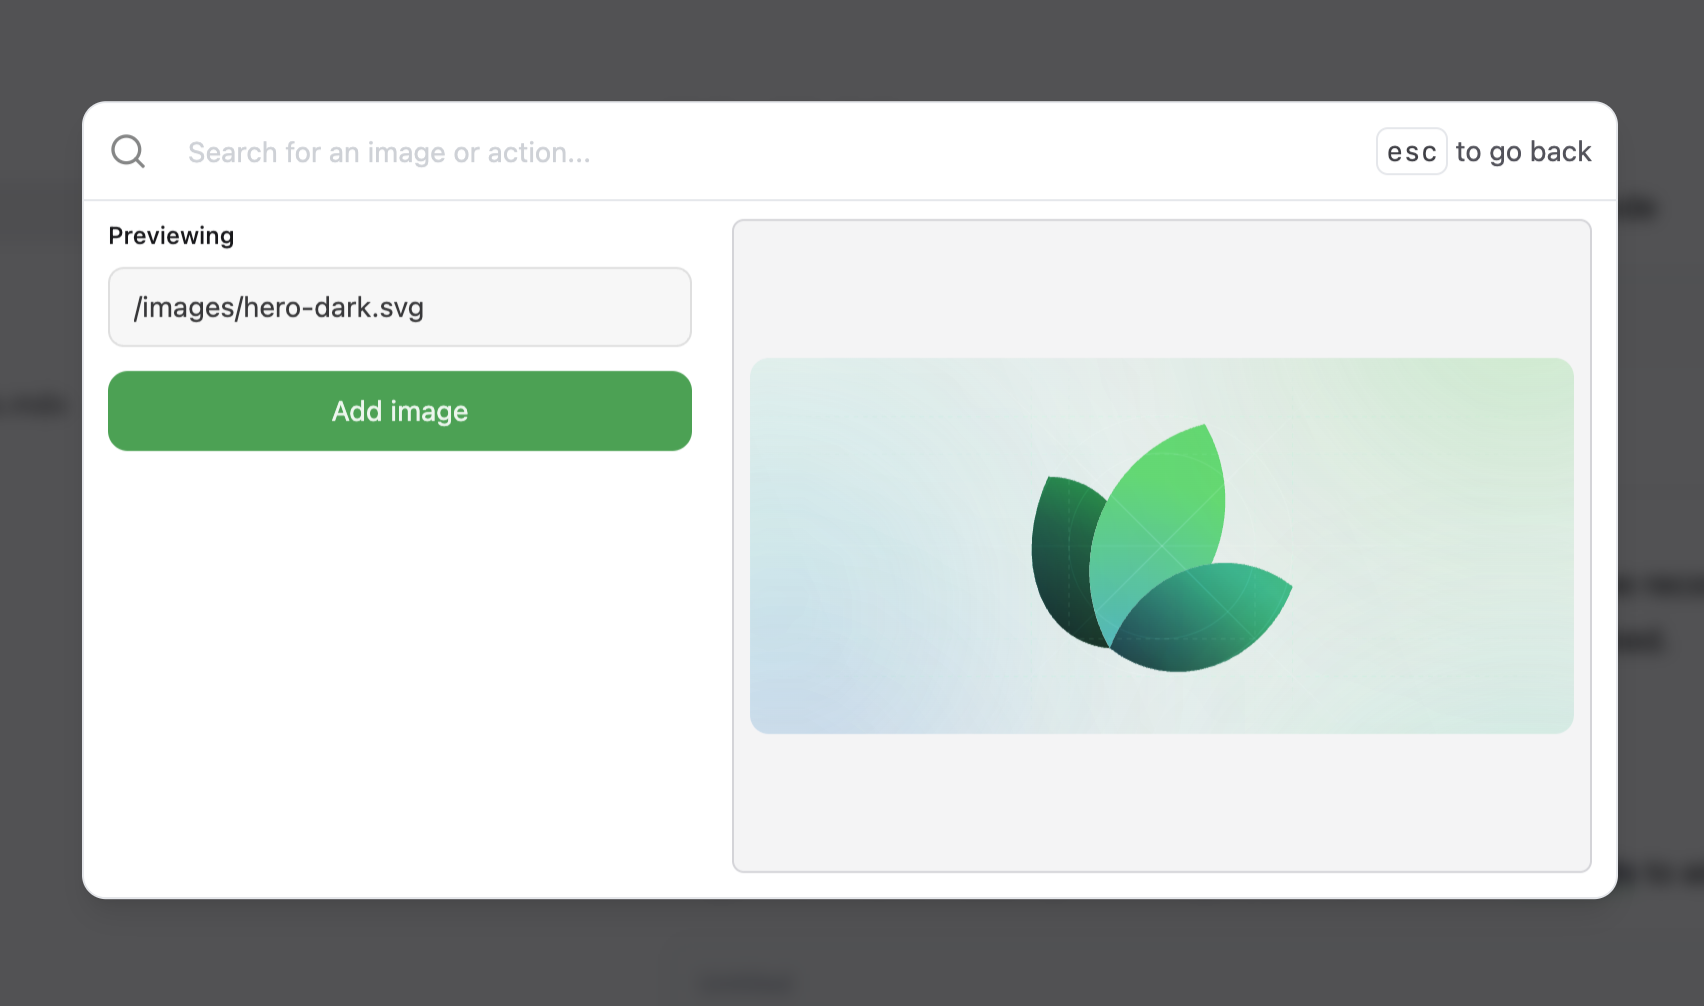
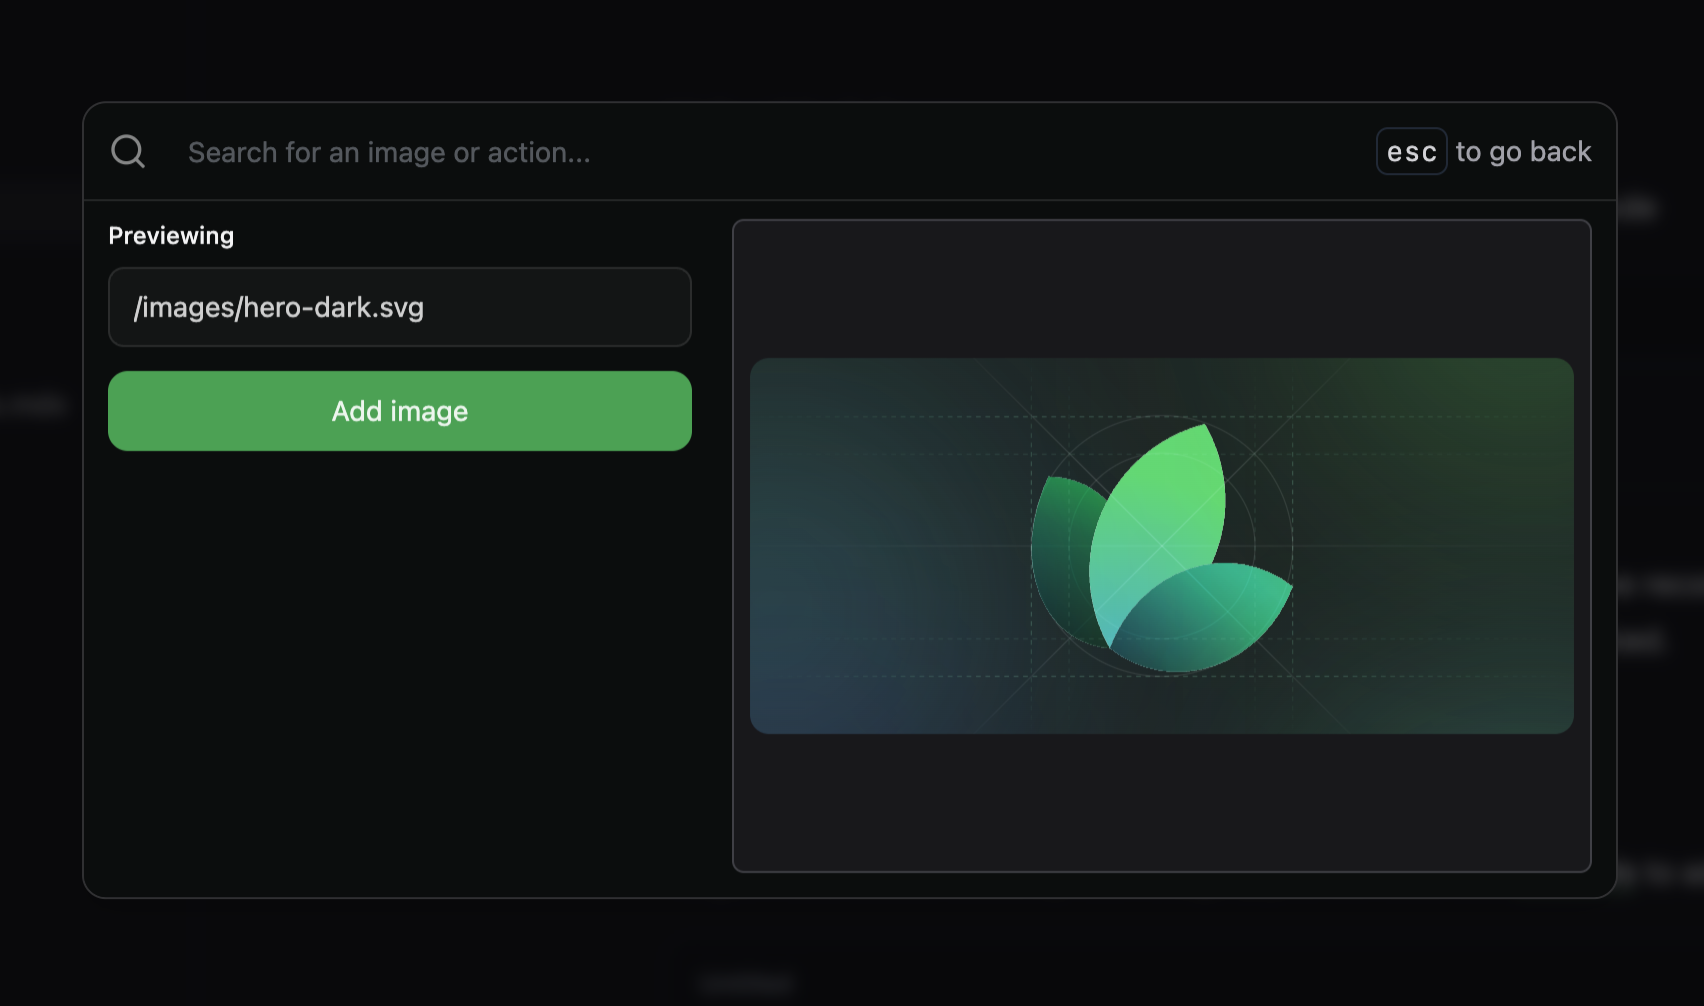
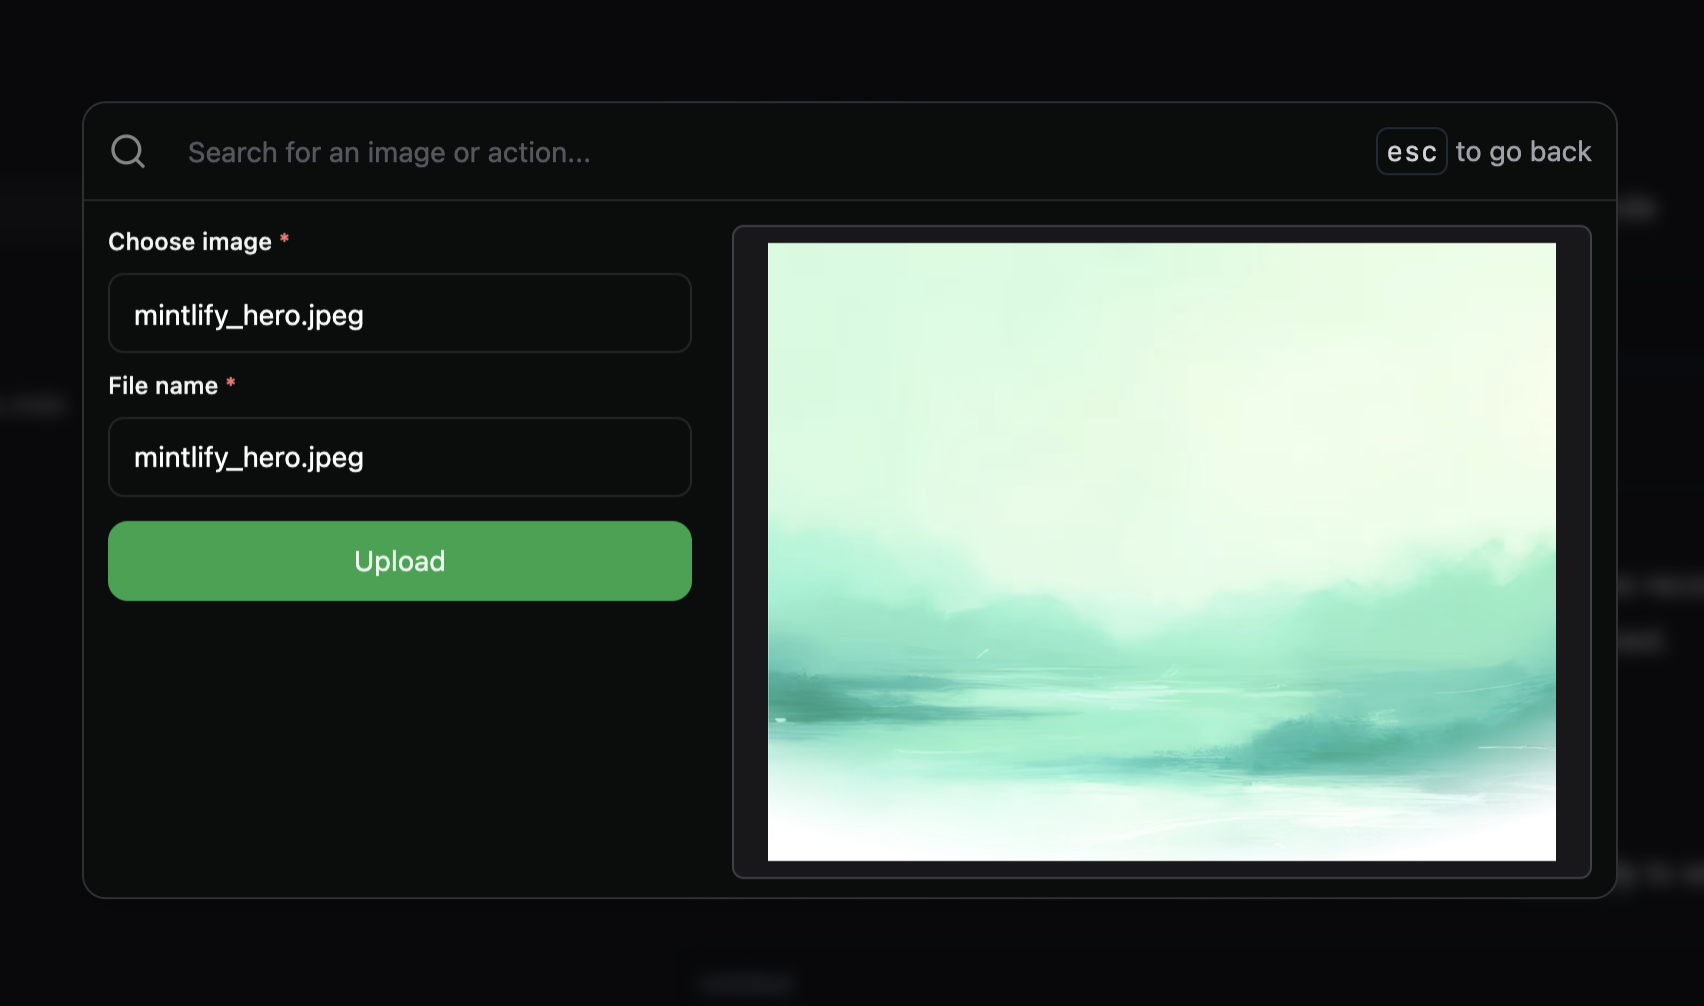 And you can preview an existing image before you add it.
 ### Editing images
In order to edit images, you just have to hover over the image to see the **"Delete"**
and **"Edit"** buttons on the top right of the image.
### Editing images
In order to edit images, you just have to hover over the image to see the **"Delete"**
and **"Edit"** buttons on the top right of the image.
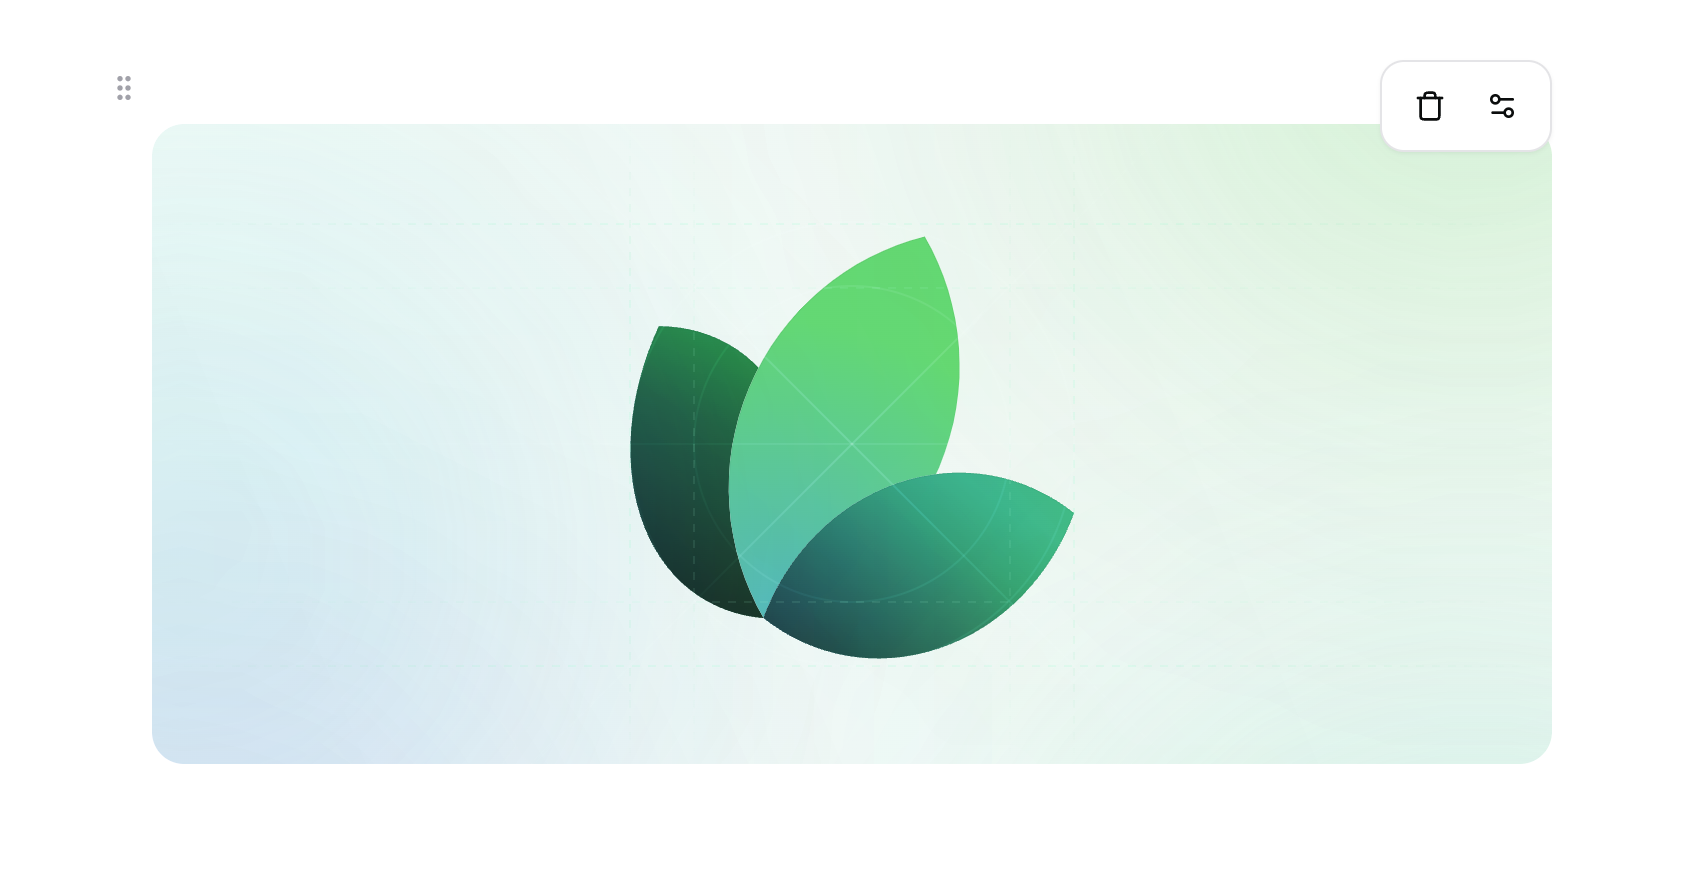
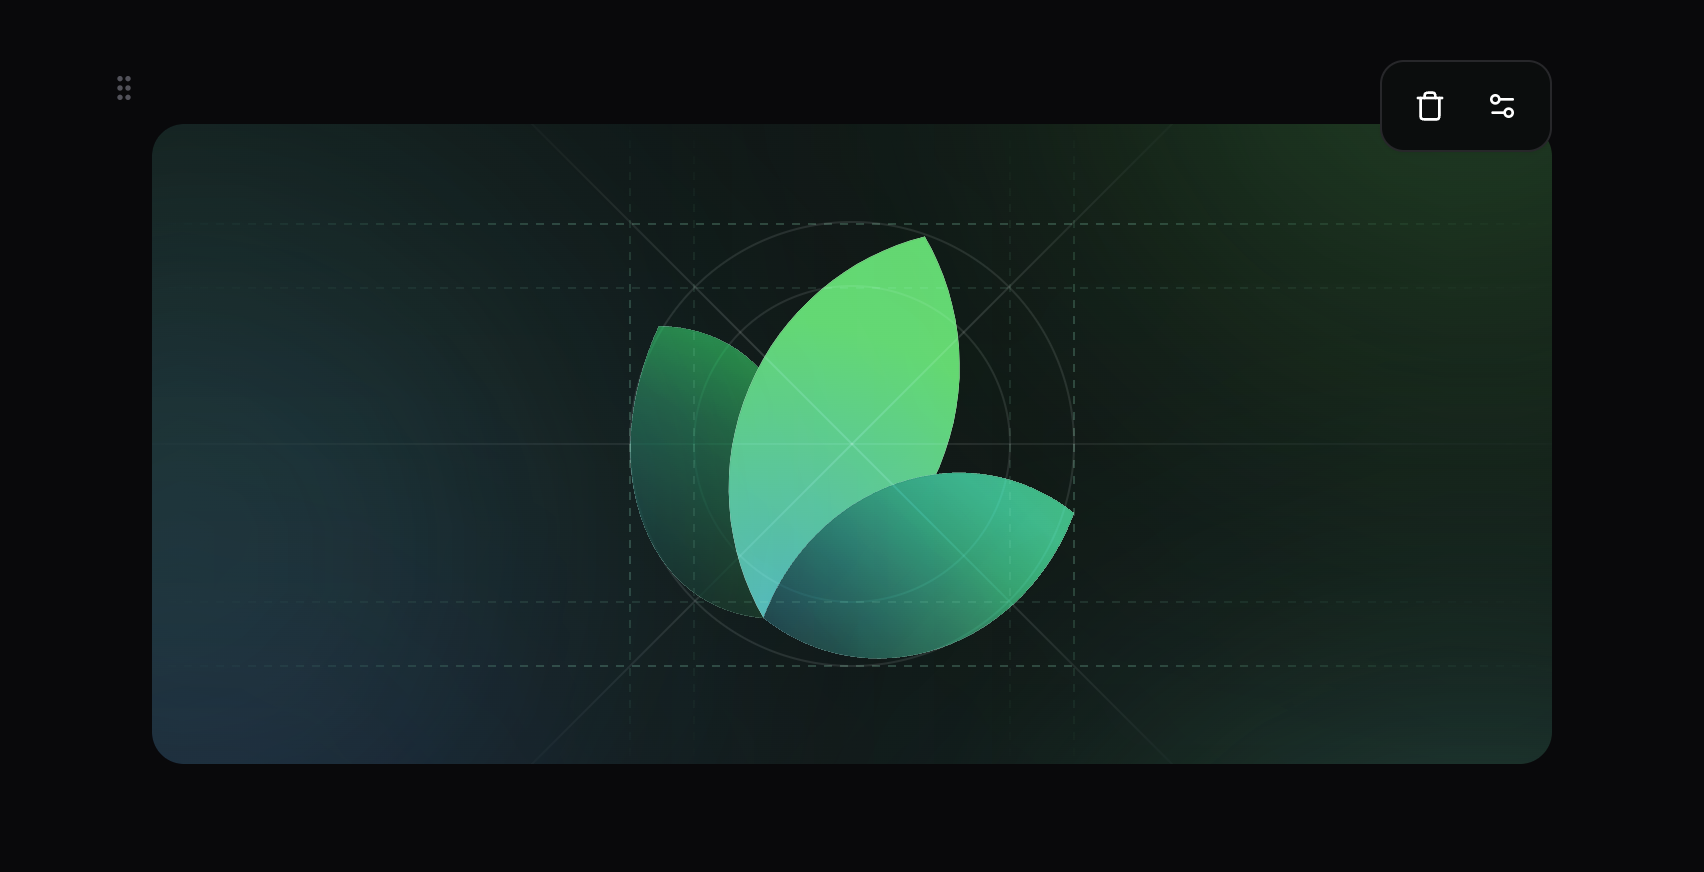 Clicking the **"Edit"** button lets you edit the attributes of the image.
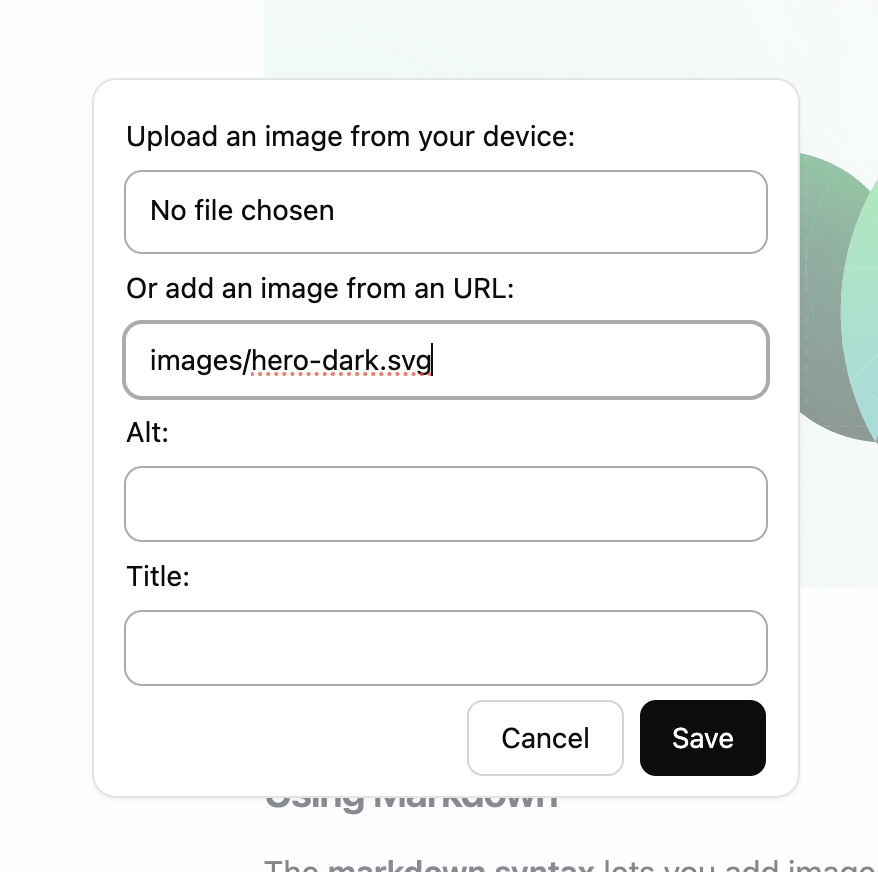
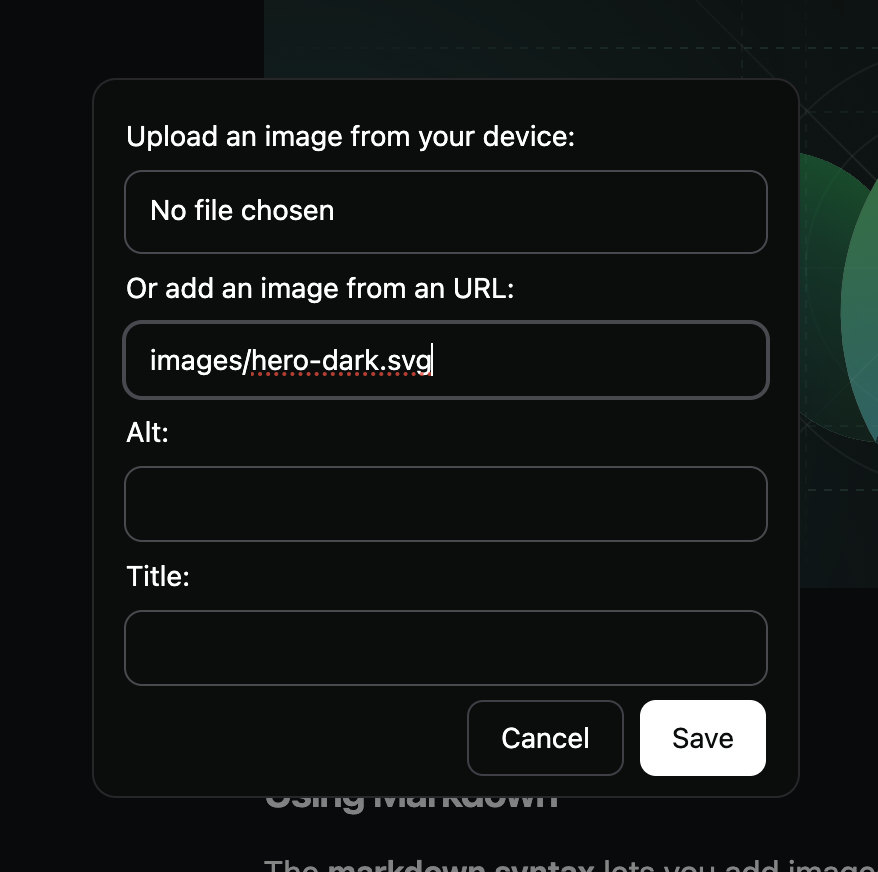 If you want to update the source of an image to be a new image that you haven't yet
uploaded, you have to first delete the image you're changing, and then add a new one
using the [instructions above](#adding-images).
## Editor modes
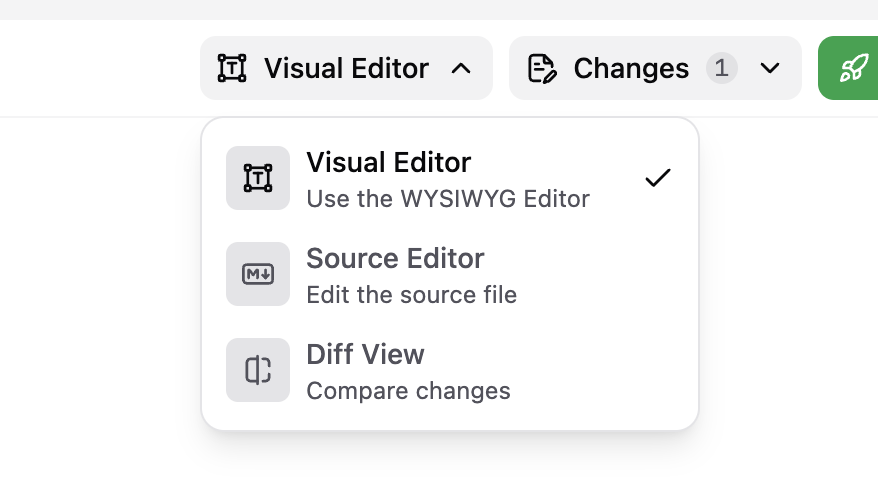
In order to offer the most flexibility, the editor has three modes:
If you want to update the source of an image to be a new image that you haven't yet
uploaded, you have to first delete the image you're changing, and then add a new one
using the [instructions above](#adding-images).
## Editor modes
In order to offer the most flexibility, the editor has three modes:
 ### Visual Editor
The **"Visual Editor"** is the typical WYSIWYG mode you'd see in something like Notion.
It offers you a view into your docs in a fully editable way that reflects what the final
page would look like on your main docs site.
### Source Editor
The **"Source Editor"** offers you a way to edit your MDX files in code, the same way
you'd do in your IDE. This offers less flexibility, in that our components aren't available
for auto-complete, but it does have two unique advantages.
1. It allows you to edit props of components (see our [limitations below](#current-limitations))
which is currently not available in **"Visual Editor"** mode yet.
2. It allows you to correct syntax errors which might've appeared in your repo that
might not be compatible with **"Visual Editor"** mode until you've fixed them.
### Diff View
The **"Diff View"** is a way to view the changes made to a specific document before
committing it to your repository.
This will help you see changes you've made along with formatting changes made by
the editor.
## Current limitations
We do have a few current limitations in the editor that we're working to resolve.
You currently cannot live-update your navigation based on added/edited files. You
still have to manually edit renamed, added, and deleted files in your `mint.json`
We currently don't show any previews for custom snippets. This is on our roadmap to support
as fully editable components.
We currently don't show any previews for OpenAPI specs. This is on our roadmap to support
as a read-only preview.
## Feedback
If you have any bug reports, feature requests, or other general feedback, we'd love to hear
where we can improve.
Email us at [support@mintlify.com](mailto:support@mintlify.com)
### Visual Editor
The **"Visual Editor"** is the typical WYSIWYG mode you'd see in something like Notion.
It offers you a view into your docs in a fully editable way that reflects what the final
page would look like on your main docs site.
### Source Editor
The **"Source Editor"** offers you a way to edit your MDX files in code, the same way
you'd do in your IDE. This offers less flexibility, in that our components aren't available
for auto-complete, but it does have two unique advantages.
1. It allows you to edit props of components (see our [limitations below](#current-limitations))
which is currently not available in **"Visual Editor"** mode yet.
2. It allows you to correct syntax errors which might've appeared in your repo that
might not be compatible with **"Visual Editor"** mode until you've fixed them.
### Diff View
The **"Diff View"** is a way to view the changes made to a specific document before
committing it to your repository.
This will help you see changes you've made along with formatting changes made by
the editor.
## Current limitations
We do have a few current limitations in the editor that we're working to resolve.
You currently cannot live-update your navigation based on added/edited files. You
still have to manually edit renamed, added, and deleted files in your `mint.json`
We currently don't show any previews for custom snippets. This is on our roadmap to support
as fully editable components.
We currently don't show any previews for OpenAPI specs. This is on our roadmap to support
as a read-only preview.
## Feedback
If you have any bug reports, feature requests, or other general feedback, we'd love to hear
where we can improve.
Email us at [support@mintlify.com](mailto:support@mintlify.com)